Clear Aligners Direct Patient Guide
My Aligners Have Arrived — What Do I Do Now?
You can normally begin wearing aligner number 1 as soon as your aligners arrive. You do not need to wait for your attachments before starting.
Follow the steps below and contact us whenever something does not seem right.
Start Here
Begin aligner number 1
You can normally start wearing aligner number 1 as soon as your package arrives.
Keep attachment templates safe
If attachment templates were included, keep them safely in their packet and take them to your dentist.
Start using Aligner Watch
Start using Aligner Watch as instructed and submit photographs when the app asks you to do so.
Keep every previous aligner
Keep every previous aligner and do not throw any of them away.
For younger patients
Are These Instructions for a Child?
We also have a simpler, child-friendly guide that explains aligner treatment in an easy and engaging way.
What’s Inside the Package?
Your package may include some or all of the following:
Your numbered aligners
Attachment templates, if required
Chewies, if supplied
Written instructions or other items needed for your treatment
Not every patient receives exactly the same items. This is normal, as each package is prepared for the individual treatment plan.
Starting Aligner Number 1
Before putting them in, check that you have the correct upper and lower aligners.
They should fit fully over your teeth without being forced.
The aligners may feel tight at first. Mild pressure or tenderness during the first few days is normal.
Use chewies to help seat them properly. If an aligner will not fit properly, do not force it. Contact us for help.
Attachment Templates and Dentist Instructions
Some patients need small tooth-coloured attachments placed on certain teeth. These attachments help the aligners guide the teeth more accurately.
If attachment templates were included in your package, keep them safely sealed in their packet and take them with you to your dentist.
You do not normally need to wait for the attachments before starting aligner number 1. They should ideally be placed before you begin aligner number 3.
Your treatment may be managed directly through Clear Aligners Direct, or Dr Vernon Kruger may be supporting your own dentist with treatment planning and aligner guidance. This depends on the arrangement made for your individual treatment.
Your dentist should contact Dr Vernon Kruger if there are any questions about the attachment templates, treatment plan, or aligner instructions.
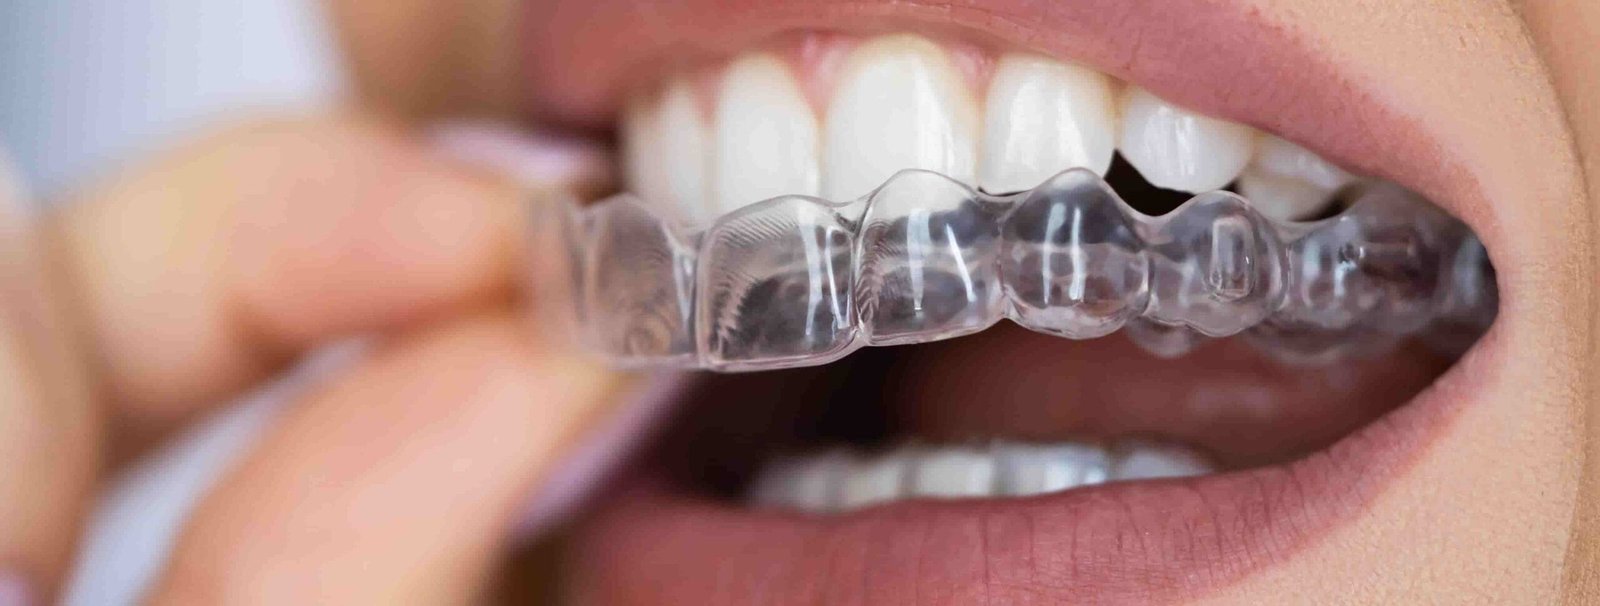
Inserting and Removing Aligners
How to Insert Your Aligners
- Wash your hands before handling your aligners.
- Check that you have the correct numbered upper and lower aligners.
- Place each aligner gently over the front teeth first, and then press it into place over the back teeth using your fingertips.
- Do not bite the aligner into position, as this may damage or distort it.
- Once it is in place, use your chewies to help press the aligner fully onto the teeth. The edge of the aligner should sit close to the teeth without any large visible gaps.
A new aligner may feel tight, but it should not need to be forced. Contact us if you cannot seat it properly.
How to Remove Upper and Lower Aligners
Remove your aligners carefully using your fingertips. Do not pull them straight off from the front or twist them sharply.
Upper aligner
For the upper aligner, begin at the outside edge near a back tooth. Gently pull the aligner down and away from the tooth. Release one side, then the other side, and gradually work forward until the aligner comes away.
Lower aligner
For the lower aligner, begin near a back tooth. Gently lift the aligner up and away from the tooth. Release one side, then the other side, and gradually work forward.
Take extra care around attachments. Work the aligner off gradually rather than pulling hard from one point.
Aligner removal tools are not essential, but some patients find them helpful. They are available from Amazon.
Never use knives, scissors, metal instruments, or other sharp objects to remove your aligners.
Wear Time and Chewies
Wear Time
Wear your aligners for the number of hours you have been instructed to wear them each day.
They should normally remain in place throughout the day and night and only be removed for eating, drinking anything other than plain water, and cleaning your teeth.
The more consistently you wear them, the more predictably your treatment can progress. Leaving them out for long periods may cause the teeth to move back and can make the aligners feel tighter.
After eating, clean your teeth before putting the aligners back in whenever possible.
Continue wearing the current aligners until Aligner Watch confirms that you are ready to change to the next set.
Using Chewies
The 5 × 5 × 3 Chewie Routine
- Place a chewie between the teeth.
- Bite down gently with controlled, repeated pressure rather than biting as hard as possible.
- Move it gradually around the mouth so that you press the aligners into place over all the teeth.
- Spend extra time anywhere you can see a gap between the aligner and the teeth.
Chewies are particularly important when you begin a new aligner and whenever part of an aligner does not appear to be seated completely.
Use them regularly as instructed. Replace them when they become worn, damaged, or no longer provide firm resistance.
Chewies may be included in some packages. Additional chewies are readily available from Amazon.
Looking After Your Teeth
Whenever possible, brush and floss your teeth after eating before putting your aligners back in.
We understand that this is not always practical. At a minimum, rinse your mouth thoroughly with water so that food is not trapped around the teeth.
Do not put your aligners back over visible or trapped food. Food held against the teeth under the aligners can increase the risk of tooth decay, staining, unpleasant odours, and gum irritation.
Small portable flossing aids can make cleaning between the teeth easier when you are away from home. These are readily available from Amazon and many pharmacies.
Aligner Watch
Aligner Watch allows us to check how your aligners are fitting and how your treatment is progressing without requiring frequent office visits.
Submit photographs when the app asks.
Continue wearing your current aligners while your photographs are being reviewed.
Change only after Aligner Watch confirms that you are ready.
Do not change to the next aligner until Aligner Watch confirms that you are ready.
If we see an area that needs more attention, we may ask you to continue wearing the same aligners, use your chewies more frequently, or send additional photographs.
Regular Aligner Watch updates are an important part of your treatment and help us identify fitting problems before they become more difficult to correct.
Watch this short video to see how messages and treatment reports work in Aligner Watch.
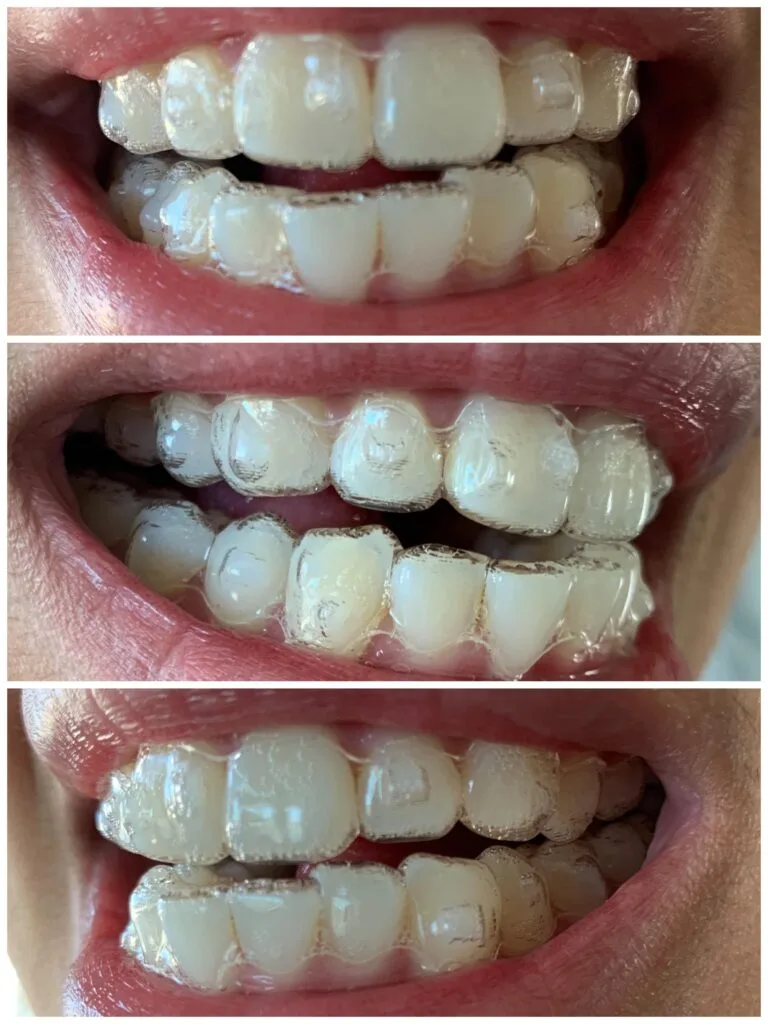
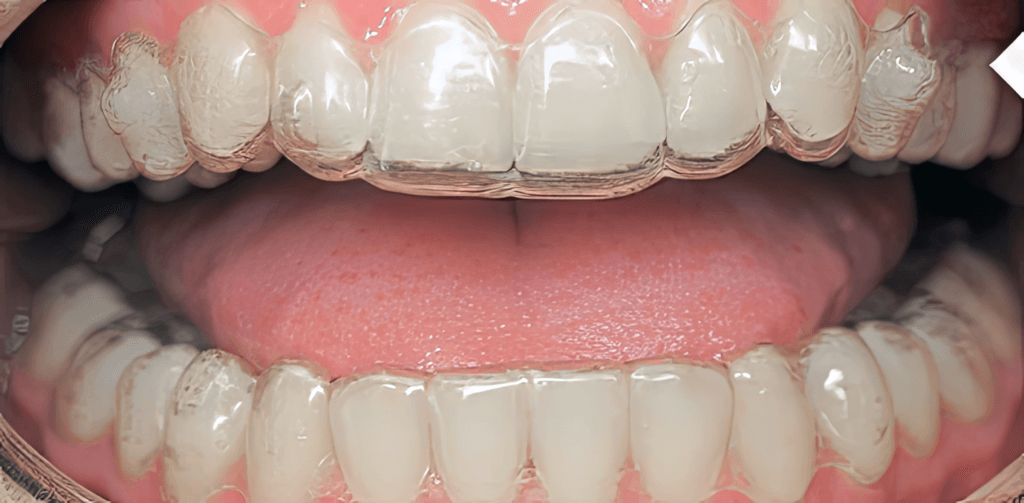
Photos We Need
Use good lighting, keep the camera steady, show the aligners fully seated, and make sure the teeth and aligner edges are visible. Submit the photographs when the app asks.
- Front View — photograph the aligners straight from the front.
- Right-Side View — photograph the right side so the aligner edges and fit are clearly visible.
- Left-Side View — photograph the left side so the aligner edges and fit are clearly visible.
Changing to the Next Aligner
Only change to the next numbered aligner after Aligner Watch has confirmed that you are ready.
It is usually easiest to begin a new aligner before going to bed. This allows several uninterrupted hours of wear while the teeth begin adjusting to the new aligner.
The new aligners will normally feel tighter than the previous set. Mild pressure or tenderness during the first few days is normal.
Use your chewies carefully around the entire mouth to help the new aligners seat fully.
If the next aligner will not fit properly, do not force it. Return to the previous aligner and contact us for advice.
Cleaning and Storage
Cleaning and Storage
- Rinse your aligners with cool water whenever you remove them.
- Clean them gently with a soft toothbrush and a small amount of clear, mild liquid soap.
- Rinse them thoroughly with cool water before putting them back in your mouth.
- Store them in a protective case whenever they are not in your mouth.
- Keep them away from pets. Dogs in particular may damage them very quickly.
Important Precautions
- Use cool water only.
- Do not use toothpaste, as many toothpastes are abrasive and may scratch or cloud the aligners.
- Do not place aligners in a dishwasher or leave them in a hot vehicle. Heat can permanently distort their fit.
- Do not wrap aligners in a tissue or napkin, as they may be thrown away accidentally.
Keep Every Previous Aligner
Keep every aligner you have worn until your treatment has been fully completed and you have been told they are no longer needed.
Previous aligners may be needed if a current aligner is lost or damaged, or if we need you to return temporarily to an earlier stage.
Do not throw away any aligner unless Clear Aligners Direct specifically tells you that it is safe to do so.
Common Questions and Problems
My new aligners feel tight
Some tightness or pressure is normal when beginning a new aligner. This should usually improve as the teeth adjust.
Continue wearing the aligners as instructed and use your chewies to help them seat fully.
I can see a gap between an aligner and a tooth
Use your chewies carefully in that area and continue wearing the aligner. Submit your Aligner Watch photographs as requested so we can assess the fit.
Contact us if the gap is large, becomes worse, or does not improve.
The edge of an aligner is rubbing
A slightly rough edge can sometimes be smoothed carefully with a clean nail file or very fine emery board.
Only smooth the sharp edge. Do not shorten the aligner or change its shape significantly.
Contact us if the irritation continues or if you are unsure what to adjust.
An attachment has come off
Continue wearing your aligners and contact us. In many cases treatment can continue temporarily, but we need to decide whether the attachment should be replaced.
An aligner is cracked or damaged
A small crack may not always prevent continued use, but contact us and send a clear photograph so we can advise you.
Do not continue using an aligner that has broken into separate pieces, has become badly distorted, or has a sharp edge that could cause injury.
I have lost an aligner
Contact us before moving forward. Wear the most recently completed aligner so that your teeth do not move while you wait for instructions.
Do not automatically skip to the next aligner unless we tell you to do so.
My aligner does not fit
Do not force it into place. Check that it is the correct number and that you have not accidentally mixed up the upper and lower aligners.
Return to the last aligner that fitted properly and contact us.
I grind or clench my teeth heavily
Tell us if you grind or clench your teeth heavily, particularly at night. Heavy grinding can place extra stress on the aligners and may cause them to crack, wear through, or stop fitting properly.
Continue wearing the aligners unless they are badly damaged or we advise otherwise. Contact us through Aligner Watch and include clear photographs if you notice significant wear, cracks, distortion, or repeated breakage.
When to Contact Us
Contact us whenever an aligner does not fit properly, something is damaged or lost, an attachment comes off, or anything about your treatment concerns you.
The best way to contact us about your treatment is through Aligner Watch. This keeps your message and photographs connected to your treatment record.
If you cannot access Aligner Watch, you may email Dr Vernon Kruger directly at drvernonkruger@gmail.com.
- an aligner will not fit properly
- a large gap develops between an aligner and a tooth
- an aligner is lost, badly cracked, distorted, or broken
- an attachment comes off
- you develop persistent pain rather than normal mild pressure
- an aligner causes a cut or significant irritation
- you cannot submit your Aligner Watch photographs
- you are unsure whether you should change to the next aligner
- your dentist has questions about the attachment templates or treatment instructions
Do not wait until your next scheduled update if something does not seem right. It is easier to correct most problems when we know about them early.